www.inkydoodles.co.uk, site logo.
Follow us on Facebook

find us on facebook

All major debit / credit cards accepted (via Paypal secure website), or by your PayPal Account.

New side column

Cheque payments also accepted.

  • PayPal
  • Mastercard
  • Maestro
  • Visa
  • Visa Electron
Powered By Paypal
Mailing List

Subscribe to our mailing list

* indicates required

Shopping Basket

You currently have no items in your basket.

Shop Search

Blog

Hi, Sarah here.

I want to use the blog to let you know about what's going on at Inky Doodles, in my head and in the wider world of stamping and papercraft so that you too can be inspired and create something amazing!

find us on facebook


With the help of the wonderful Caroline Shinnie I hope to be able to show a card or project with instructions most days.

 RSS Feed

  1. Hi folks, just a very quick post before leaving for Peterborough and Create and Craft Towers!!  I do hope you can join myself and Debbie Shore tomorrow at 8.00 am for the latest Inky Doodles tv appearance!  Feeling somewhat more apprehensive this time as I don't know Debbie at all, and I think Leonie made it incredibly easy for me as she knows so much about stamping. I will be back with the same four designs as before plus one other new to the channel. So that will be Birdcage Blossom, Birdie Heart, Little Birdie, Patchwork Sentiments and Primitive Angel. I have a demo planned using the Primitive Angel set which shows how to use the background plaid builder stamps to create your own lovely checked designs, anything from gingham (yee haa!!) to your own clan tartan.

    Anyway time I got going, its icy and foggy out there so don't want to be too late. Lets hope I haven't forgotten anything.

    Sarah x

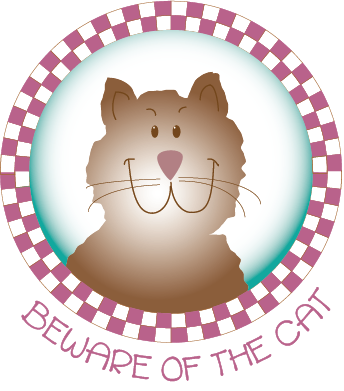
  2. I've spent the last few days finishing some new stamp designs, six new A5 sets, and eight new A6, just waiting for the samples to come back from the manufacturer now so I can see how they look and work in the flesh, so to speak. This is always the hardest part, I love designing on the computer but there is nothing like actually having the real stamp in your hand, don't think digital crafting will ever replace stamping for me. This is a sneaky preview of one of the new designs. hope you like it!  cat facebook 
       

  3. Well folks that was easier and quicker than I thought it might be, in fact its taken longer to photograph and upload the images than to make the flower! So here it is, my take on a 3D flower made without the aid of any fancy die cut shapes.

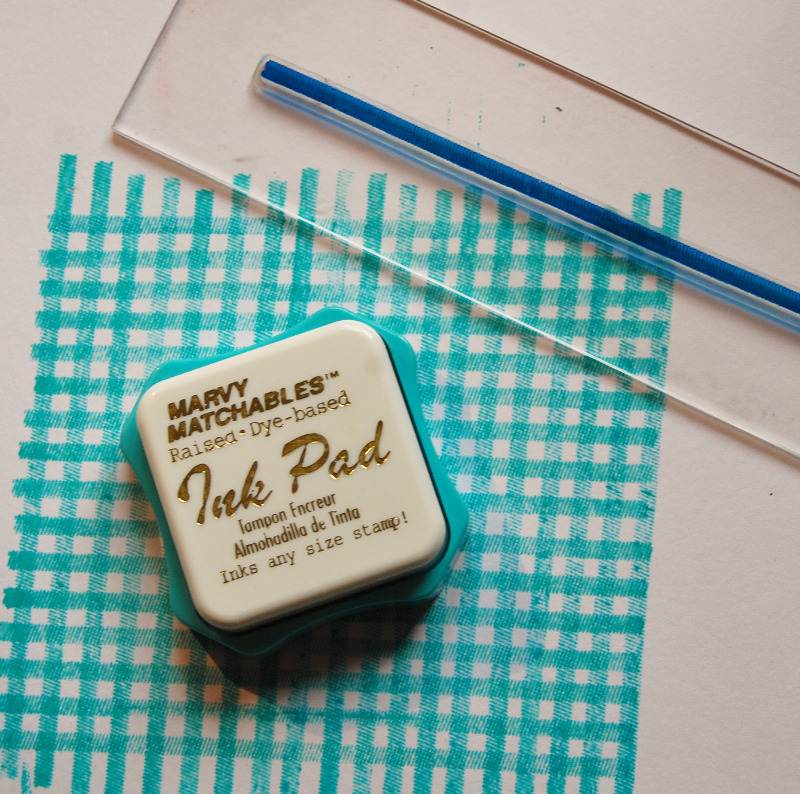
    dsc_9471 First of all I stamped a checked design using one of the plaid builder stamps from the primitive angel stamp set. I used a dye based ink and as you can see I wasn't too careful or overly worried about lining it up exactly.
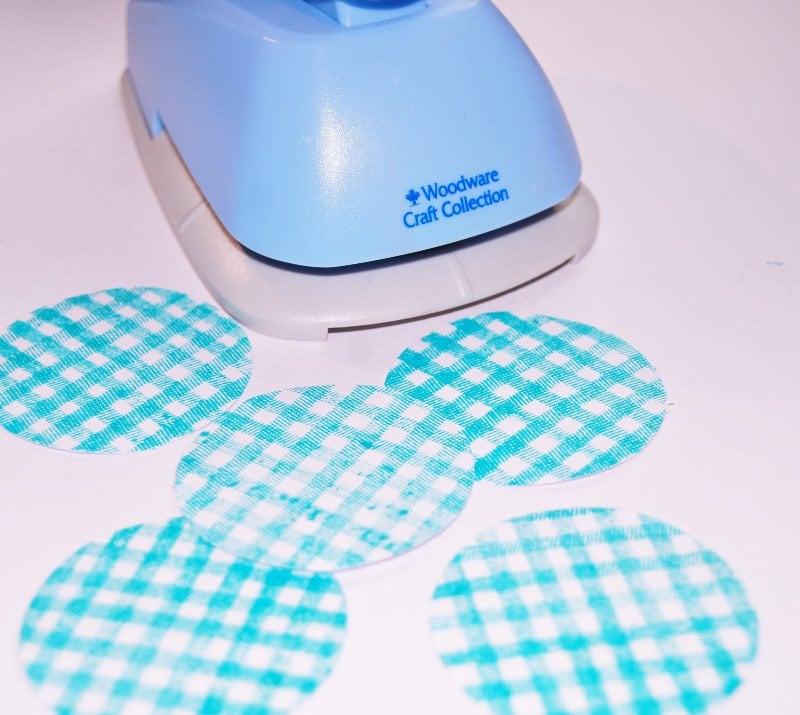
    dsc_9473 Next I cut out several circles from the stamped paper using a 2inch circle punch
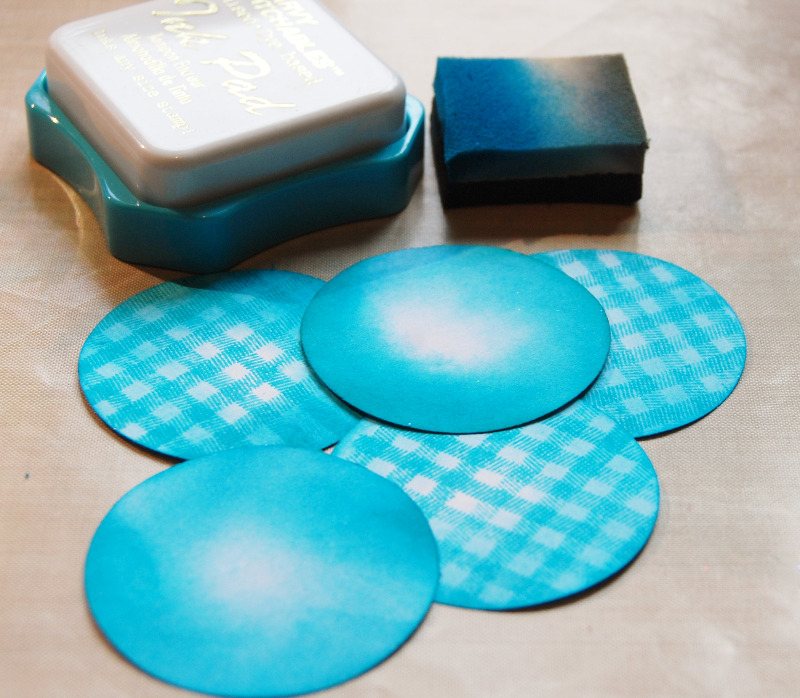
    dsc_9475 I inked around the edges of both front and back of the circles using the same ink as before.
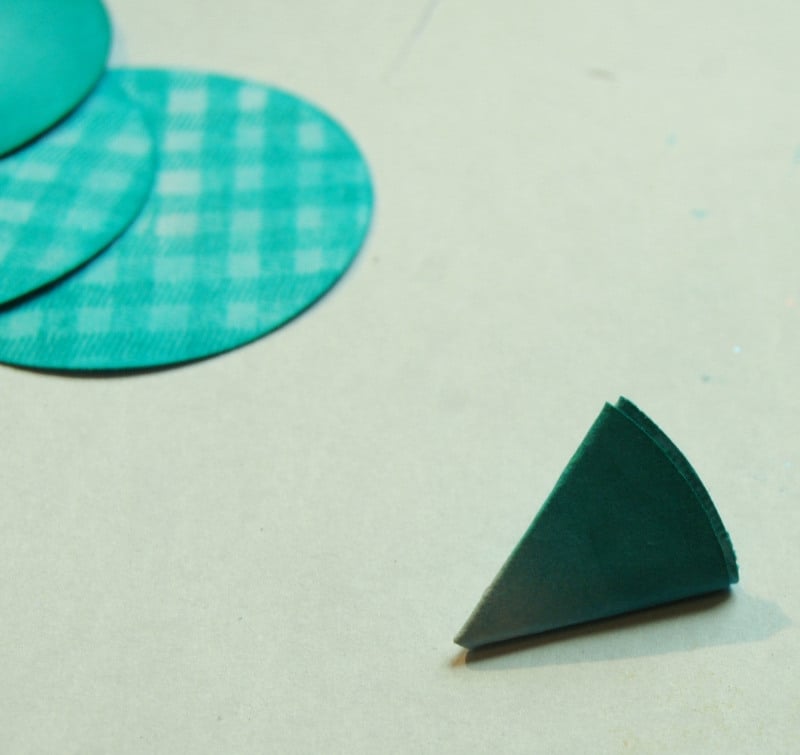
    dsc_9476 Fold each circle into half, then half again, and then half again, so that it looks like this. Next cut the corners off the triangle to make it more petal shaped, take care not to cut too far down as your circle will fall apart!
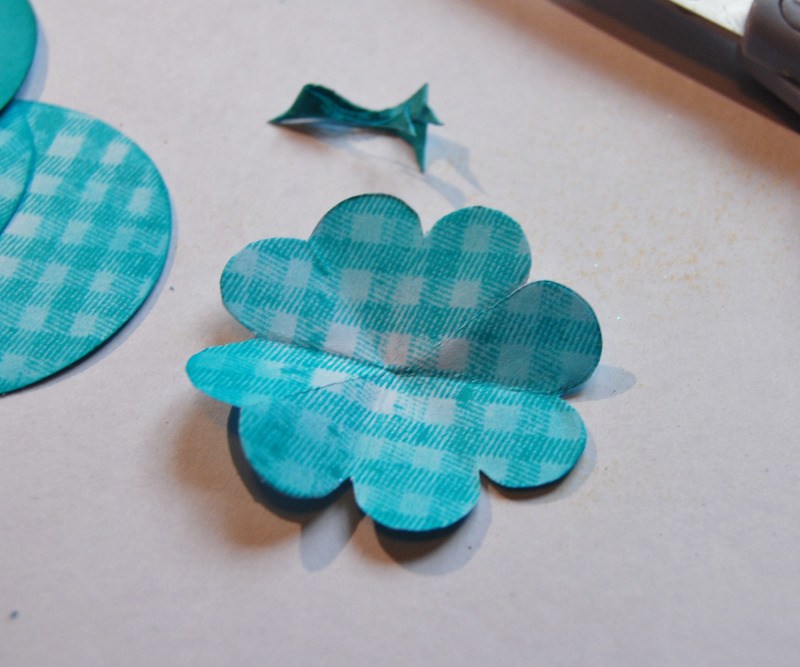
    dsc_9480 When you open it out it should look like this.
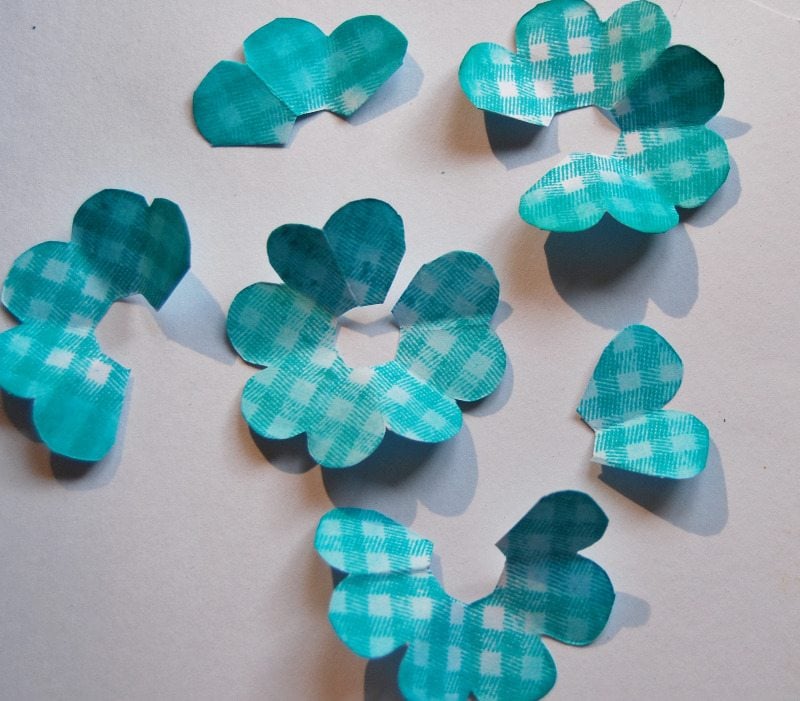
    dsc_9482 Next I cut some segments out from the shapes. The first I just cut down one fold line but didn't remove anything. The next I removed one petal, the next two, the next three and so on. I also trimmed some from the end of the triangle which will help the flower sit flat when it is assembled.
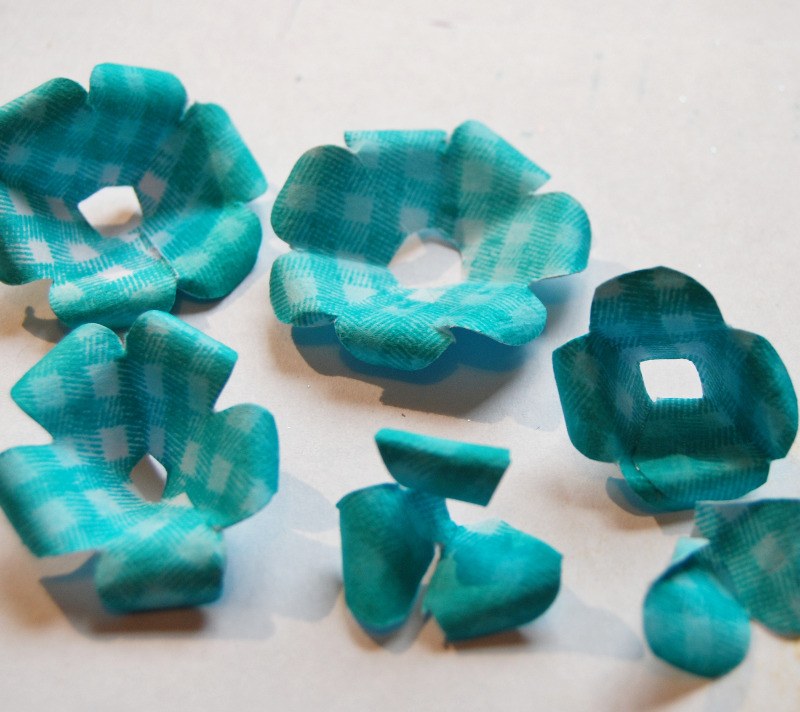
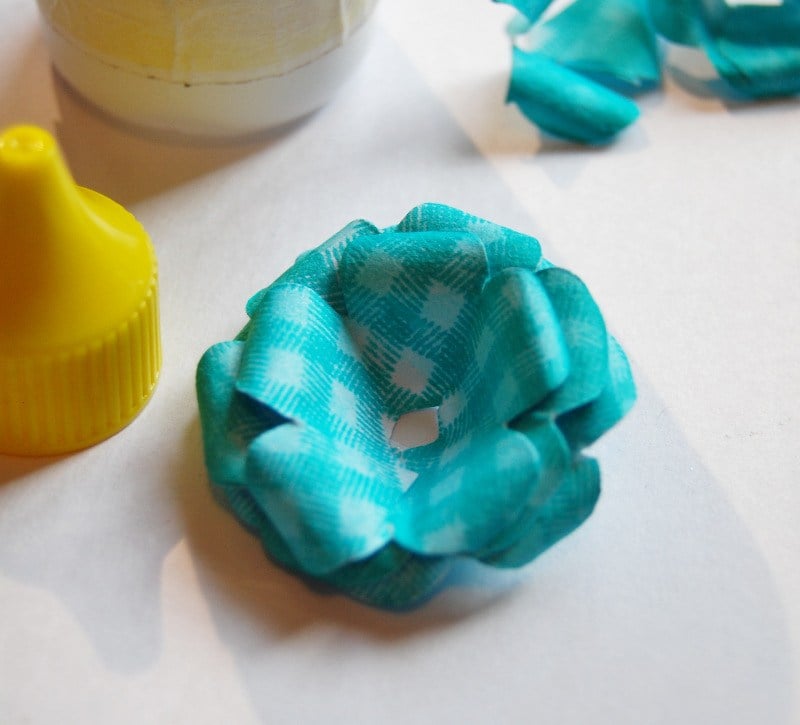
    dsc_9485 Start folding the flower together by overlaying one petal with another and gluing into place. Roll the edges of the petals around a pokey tool, cocktail stick or the thin end of paintbrush. When you get to the smaller pieces just roll them don't bother gluing yet.
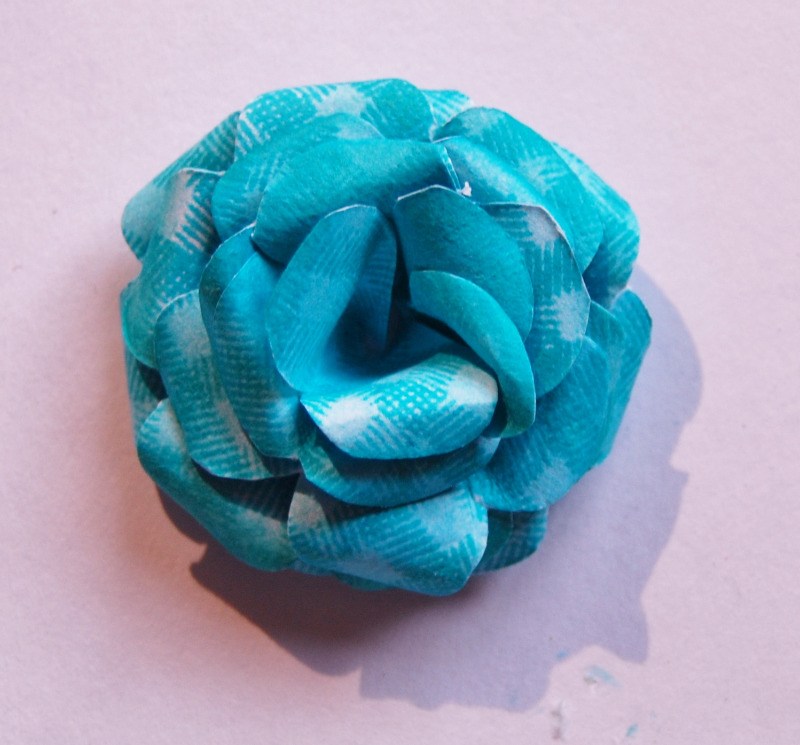
    dsc_9487 Now start by applying some glue to the centre of the largest flower shape, be generous here it will give you extra time to move your petals around and means your flower will be firm when the glue dries. Then add more glue and more layers of petals. the very small centre pieces can be rolled and pinched together before adding to the flower. Dont panic at this point if you don't think it looks great, you can always tweak more when the glue has set.
    dsc_9488 Your flower should be looking something like this now.
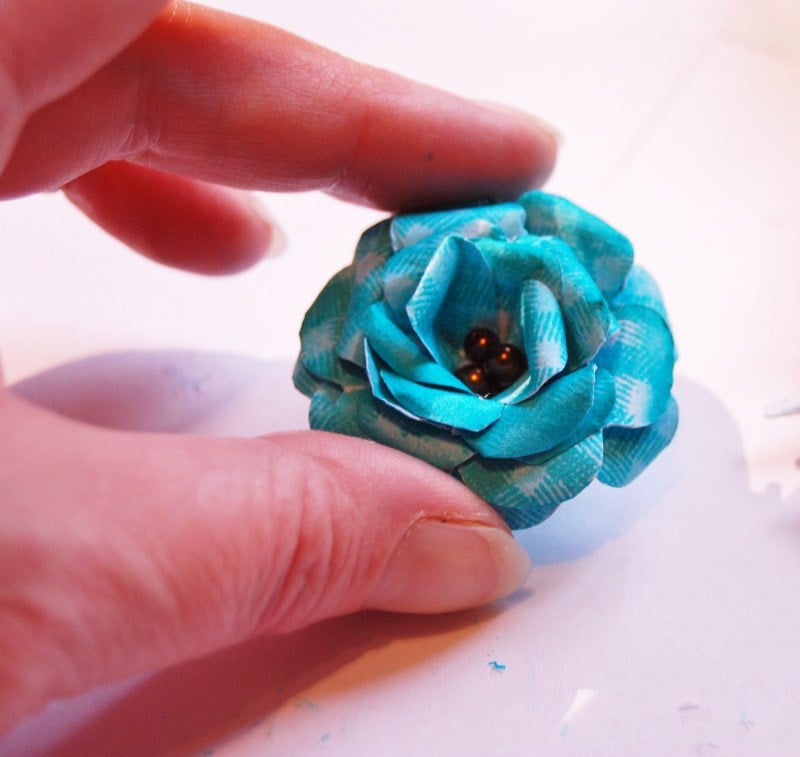
    dsc_9496 Here is the finished flower. I've put a drop of glue in the centre and added a few beads. The glue should dry clear, hopefully! I think it looks quite effective really, considering all it's made from is a sheet of white paper, some ink and a bit of patience! Proof that you don't need lots of fancy tools and papers to get great results. I hope you guys will give this a go and let me know what you think.